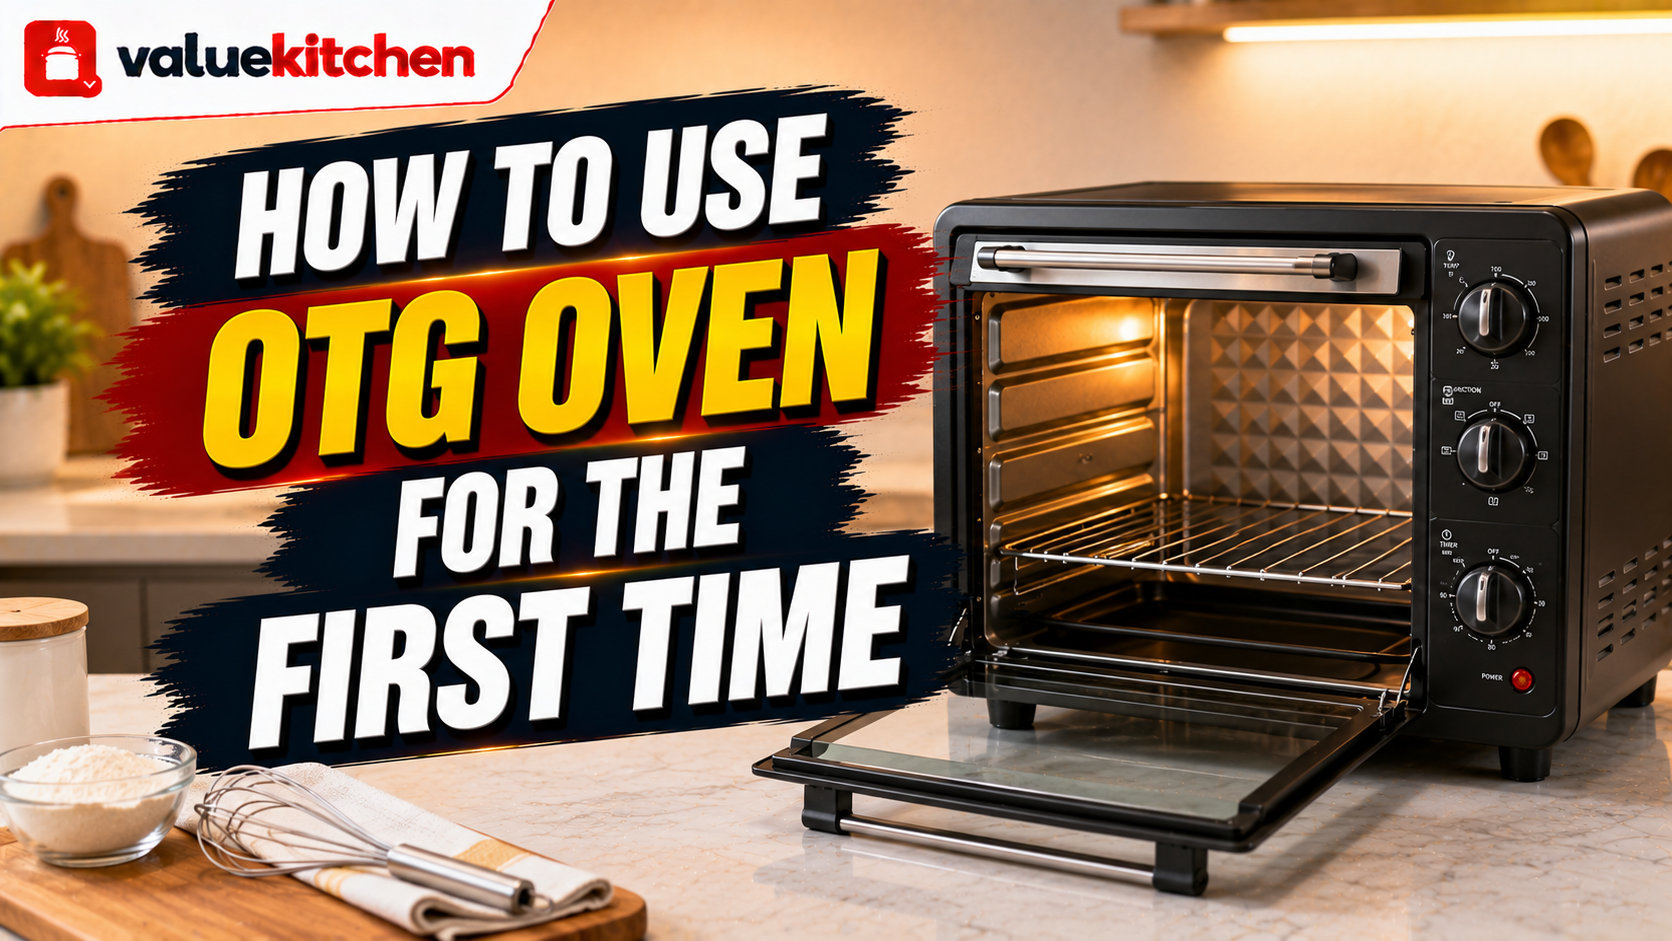
How to Use an OTG Oven for the First Time: Complete Beginner Guide
An OTG (Oven Toaster Griller) is one of the most versatile kitchen appliances you can own. Baking, grilling, toasting, and roasting, all in one compact unit. But the first time you look at those three knobs and the tray rack system, it can feel unfamiliar.
This guide explains every part of an OTG oven in plain language and walks you through using it correctly from day one, including what the knobs do, how to preheat properly, and which rack position to use for different foods.
Understanding the Three Knobs
Most OTG ovens have three knobs. Understanding what each one does is the foundation of using the appliance correctly.
| Knob | What It Controls | Settings |
|---|---|---|
| Temperature knob | How hot the oven gets | Typically 100°C to 250°C (or up to 300°C on some models) |
| Timer knob | How long the oven runs | 0 to 60 minutes on most models. Turns off automatically when time is up and rings a bell. |
| Function / Mode knob | Which heating elements activate | Toast (top only), Bake (both top and bottom), Grill (top only at high intensity), and sometimes Convection on premium models |
Bake, Grill, and Toast Modes Explained
The function knob is the most important one for getting the result you want.
Bake mode: Both the top and bottom heating elements activate. Heat surrounds the food from above and below. This is the mode for cakes, muffins, cookies, bread, and any food that needs even heat from all sides. The bottom element provides the base heat for rising and cooking through, and the top element creates the golden surface.
Grill mode: Only the top heating element activates, at high intensity. The direct overhead heat chars and browns the top surface of food quickly. Use this for paneer tikka, chicken tikka, kebabs, grilling vegetables, and anything you want charred on top. Food needs to be placed on the upper rack to be close to the top element.
Toast mode: Similar to grill but gentler. Used for toasting bread slices and warming bread products. Some OTGs combine toast and grill into one setting.
How to Preheat Correctly
Preheating is not optional, it is one of the most important steps for good results, especially for baking.
An OTG oven placed cold into a recipe will give you uneven results. The edges of a cake bake while the centre is still liquid, cookies spread before setting, and bread does not develop the right crust. Preheating ensures the entire oven chamber is at the correct temperature before food enters.
How to preheat:
Set the function mode to Bake (or Grill if grilling). Set the temperature to your recipe temperature. Set the timer to 10 to 15 minutes. Let the empty oven run for the full preheat duration. For most recipes at 180°C, a 10-minute preheat is enough. At higher temperatures (200°C to 220°C), preheat for 12 to 15 minutes.
Rack Positions and When to Use Each
Most OTGs come with 2 to 3 rack positions inside the chamber. Using the right position significantly affects cooking results.
| Rack Position | Best For | Why |
|---|---|---|
| Top rack (closest to top element) | Grilling, browning, toasting | Direct intense heat from the top element gives charring and browning quickly |
| Middle rack | Baking (cakes, muffins, cookies, bread) | Most even heat distribution from both top and bottom elements. Best position for most baking. |
| Bottom rack | Pizza, pastry bases, items needing a crispy bottom | Closer to the bottom element for more heat from below. Good for a crispy base. |
Using Your OTG for Baking
OTGs are excellent for baking cakes, cookies, muffins, bread, and Indian baked items like nankhatai and puff pastry. Follow these steps for reliable results.
Step 1: Preheat to your recipe temperature for 10 to 15 minutes on Bake mode.
Step 2: Use baking tins that fit your OTG. Measure your OTG’s internal dimensions and buy tins accordingly. Most 20L to 30L OTGs fit a 7-inch round tin or a 7×5 inch loaf tin comfortably.
Step 3: Place the filled tin on the middle rack.
Step 4: Set the timer for your recipe time. Check doneness 5 minutes before the stated recipe time, OTG temperatures can vary by model.
Using Your OTG for Grilling
The grill function is ideal for paneer tikka, chicken tikka, seekh kebab, grilled vegetables, and garlic bread.
Step 1: Preheat on Grill mode at 220°C to 250°C for 10 to 12 minutes.
Step 2: Place marinated food on the wire rack (the mesh rack, not the solid baking tray). Place the drip tray underneath to catch any marinade or fat that falls during grilling.
Step 3: Position the rack in the upper slot, closer to the top grill element.
Step 4: Set the timer for your food. Most paneer tikka and vegetables take 15 to 20 minutes at 220°C, turning once halfway through.
Temperature Reference for Common Foods
| Food | Mode | Temperature | Time |
|---|---|---|---|
| Cake (7-inch round) | Bake | 170 to 180°C | 30 to 40 min |
| Cookies / Biscuits | Bake | 160 to 170°C | 12 to 18 min |
| Muffins | Bake | 180°C | 18 to 22 min |
| Bread loaf | Bake | 180 to 200°C | 25 to 35 min |
| Paneer tikka | Grill | 220°C | 15 to 20 min |
| Chicken tikka | Grill | 220 to 250°C | 20 to 25 min |
| Garlic bread | Toast / Grill | 180°C | 6 to 8 min |
| Pizza (homemade) | Bake | 200 to 220°C | 12 to 18 min |
| Toast (bread slices) | Toast | 180°C | 4 to 6 min |
Common First-Use Mistakes to Avoid
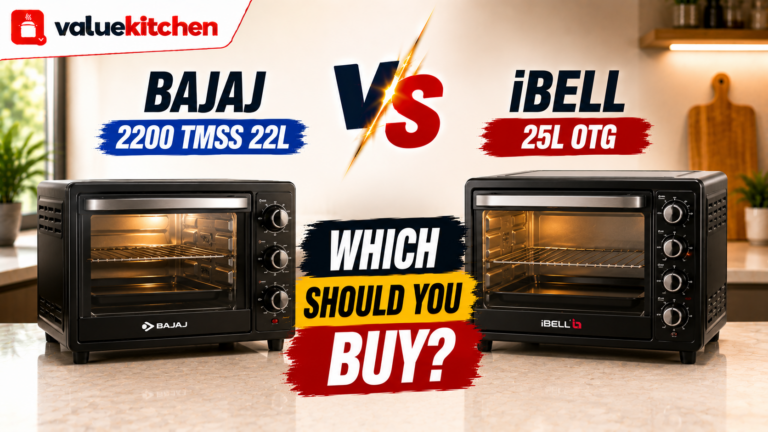
Looking for an OTG oven? Read our Bajaj 2200 TMSS vs iBELL 25L OTG comparison to find the right model for your budget.
Frequently Asked Questions
What is the difference between an OTG and a microwave oven?
An OTG heats food using exposed heating coils (top and bottom) and radiant heat, the same way a conventional oven works. It is excellent for baking, grilling, and roasting. A microwave heats food using microwave radiation that excites water molecules inside food, it reheats and cooks quickly but cannot bake or grill. For baking cakes, making tikka, or roasting, an OTG is the right appliance. For reheating leftovers or cooking vegetables quickly, a microwave is faster.
Can I use aluminium foil in an OTG oven?
Yes. Aluminium foil is safe to use in an OTG oven, unlike in a microwave. Use it to line the drip tray for easy cleaning, tent over the top of a cake if it is browning too fast, or wrap items you want to steam-bake. Do not cover the entire rack with foil as this blocks heat circulation and gives uneven results.
My cake is burning on top but raw inside. What is wrong?
This is usually caused by one of three things: the temperature is too high, you are using Grill mode instead of Bake mode, or your OTG runs hotter than its dial indicates. Try reducing the temperature by 10 to 15°C, confirm you are on Bake mode (both elements), and tent the top of the cake with aluminium foil after the first 15 to 20 minutes if the top is browning too fast while the inside is still cooking.
How do I clean an OTG oven?
Always unplug and let it cool completely before cleaning. Remove the wire rack and drip tray and wash them with warm soapy water. Wipe the interior walls with a damp cloth, never spray water directly inside. For baked-on food on the interior floor, make a baking soda paste, apply, leave for 15 minutes, then wipe off with a damp cloth. The glass door can be cleaned with a mild glass cleaner. Dry all parts before reassembling.
What size OTG should I buy for a family of four?
A 20 to 25 litre OTG is comfortable for a family of 4. It fits a 7-inch cake tin, a standard pizza, and enough paneer tikka or chicken for a meal. If you bake often or entertain regularly, a 30 to 35 litre model gives you more room for larger batches. Anything below 16 litres is best for single servings or very occasional use.
This guide covers general OTG oven operation guidelines applicable to most standard OTG ovens available in India. Always refer to your specific model’s user manual for manufacturer instructions. ValueKitchen is an independent kitchen resource for Indian households.